Showing posts with label dessert. Show all posts

Saturday, April 19, 2014

Gluten-Free Caramel Chocolate Cookie Bars

It used to be, during Passover, you had some matzo and some macaroons and you were grateful for it.  Now, Passover recipes are all kinds of fancy. I was kind of skeptical of these cookie bars when I found them looking for desserts to make for our Seder, but they really did taste just like a chocolate chunk cookie bar. And since we have run out of them, I decided to make some more, but my way.


And yes, these have no gluten because you can't have any grains during Passover, so they are the perfect treat for your Gluten-Free Friends (your GFFs ;) and coworkers (or for you, they are great for you too). AND they don't take all those different flours to make gluten free foods seem gluteny. Just five easy ingredients.

What you'll need:


2 cups of almond meal. (You can either buy it ground or grind your own. If you are making these for someone GF, please, make sure the bag assures there is no gluten.)
1 cup of brown sugar
2 large eggs
1 cup of GF caramel chocolate candies (I used Milk Duds- you can also use any gluten free candy you think would go well or chocolate chunks)
1 teaspoon vanilla extract

You'll also need:

Optional: Chocolate chunks (it needs more chocolate! about 1/2 cup) and salt (to balance all the sweet, about 1/4 teaspoon)

Mixing bowl and spoon (or electric mixer)
8x8 baking pan
Parchment paper (if you don't use this, you may have to chip your bars out of your pan)

This really couldn't be much easier.

Preheat your oven to 375 F - Prepare your baking pan with parchment paper. Wrestle with it for a while, if you are anything like me.

Measure your 2 cups of almond meal and 1 cup of packed brown sugar in your bowl and then mix them to combine.


Add two eggs and a teaspoon of vanilla to your almond mixture, and stir until you get a thick sticky batter.


Stir in your candy pieces (Apparently I forgot to take a picture of this *sigh*).


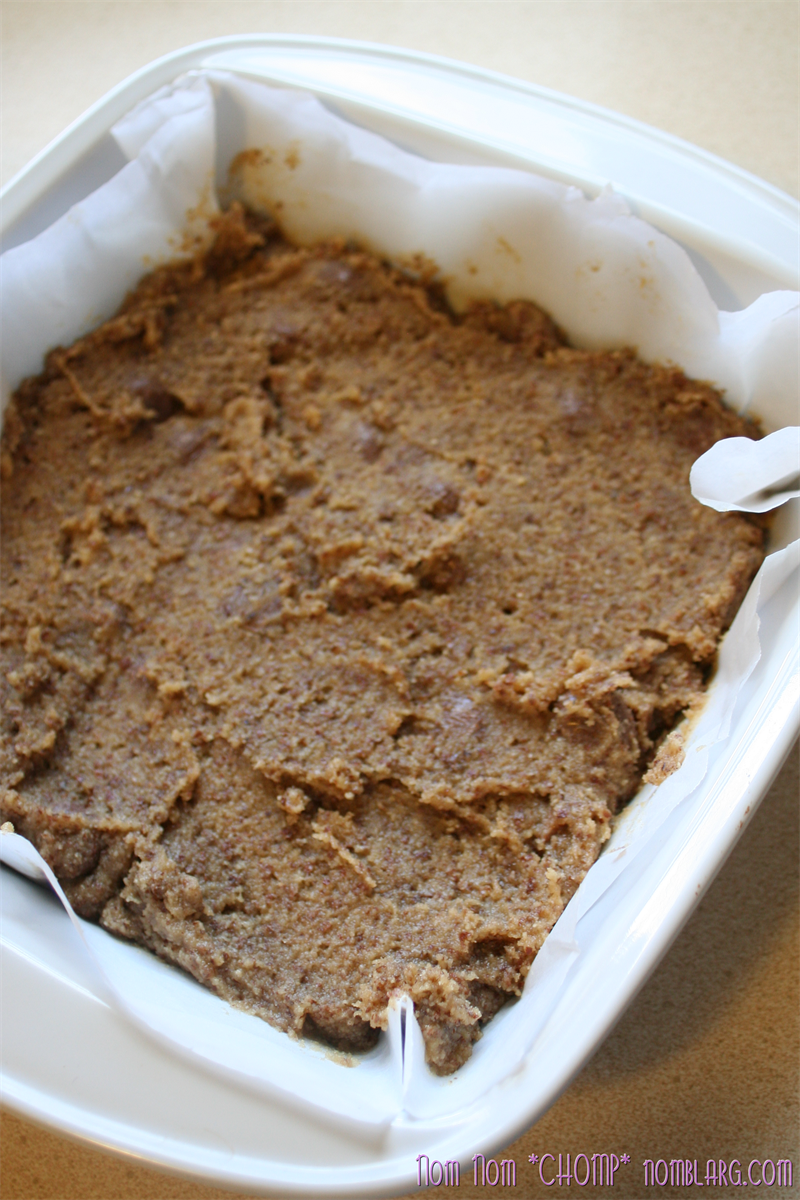
Now, wrestle with that parchmented pan again, to get that REALLY thick batter to fill the pan evenly. Seriously, this might take a bunch of your patience, so if you are having a bad day, try to get someone else to do this part for you, unless yelling obscenities at raw cookies is one of your favorite ways to relieve stress (It isn't really all that hard, it just takes a little time, and patience... and cursing - I KID).

Once they are level, I like to cut down my parchment paper so my stove doesn't light it on fire.


Bake these for about 25 minutes. The original recipe warns like a billion times, DON'T UNDER COOK THEM. I am not entirely sure what happens if you undercook them, but they seemed pretty adamant about it, so I think I didn't undercook them... because nothing dire happened to them after baking them only 25 minutes. You want them to look more cookie-ish and less raw-ish when you take them out, and 25 minutes does that in my oven.


Now, let them cool, then, pull up on your parchment, which should pop these right out of the pan, and cut them into portions. They are very rich, so smaller might be better, but these are your cookie bars so you cut them however you want.


Now pour yourself a glass of milk and enjoy the heck out of your easy gluten-free treat!


Saturday, April 12, 2014

Cadbury Creme Egg Cupcakes

There are, indeed, several Creme Egg Cupcake recipes on The Tubes, but all of them seem to be beating people over the head with chocolate.  My secret is I only really like the inside of Cadbury Creme Eggs. I know, I am one of those crazy chocolate un-enthusiasts. I don't hate chocolate, but I like it balanced with a whole lot of not chocolate.

My Cadbury Creme Egg Cupcakes have a yellow cake base peppered with creme eggs and mini chips and a delicious dark chocolate frosting on top. Just the right amount of chocolate for everyone (unless you're allergic to chocolate... or hate it, in which case there is just way too much. =P )


What you'll need for 24 cupcakes:

Monday, April 7, 2014

Peach Whip Snickerdoodle Cookie Cups

Peach Whip is a favorite dessert in our household because it is almost literally the easiest recipe in the world. I suppose if we are trying to quantify, "ice" would be the easiest recipe ever... or maybe "pop tarts." I don't know, is simply heating something a recipe?

Anyway, Peach Whip is really easy and it tastes really good... and usually, I would just make some and then eat it out of a whipped topping container with a spoon, but I figured I would class it up a little and so I present to you:


Still super easy, and fast, but now in a crunchy, sugary self-contained bite.

What you'll need for 48 cookie cups (with a little left over Peach Whip, possibly):

Tuesday, February 25, 2014

Peaches and Cream Brown Betty Biscuits

Breakfast sweets- I don't know if I can trust people who can't enjoy a good rush of sugar first thing in the morning. I have seen apple skillet biscuits around, and while I am down for a good apple treat, my heart really belongs to peaches. There is little more satisfying than biting into a ripe juicy peach...and nothing quite as disappointing as biting into a totally unripe peach, amirite?!

Totally avoiding that possibility by using premium peach pie filling here, paired with a sweetened blend of cream cheese and sour cream, over fluffy cinnamon sugared biscuits, with a buttery crumble on top. When I dreamt this up, I knew it would be good, I just didn't know HOW good it would be.


And though I made this recipe with breakfast in mind, it would actually make a really amazing dessert too, especially with whipped cream or vanilla ice cream.


What you'll need for 9 servings:

Monday, February 3, 2014

Strawberry Tres Leche Cupcakes

Am I the only thing who thinks immediately of Latin lovers when I think of romance?


I have one heck of a romantic cupcake for your Valentine.  Growing up in Miami, having latin pastries was one of my favorite treats. So when I was thinking of other things to do with my Pillsbury Valentine Funfetti cupcakes, the first thing that came to mind was Tres Leche. Tres Leche, (pronounced trace-LAY-chay) is a central american dessert that consists of a spongy cake soaked in three different milks, that turns the cake into a spongy pudding. It is usually topped with whipped cream (or sometimes marshmallow fluff). Of course, to make this recipe extra Valentine-y, I added some sweet red strawberries.


Saturday, February 1, 2014

Chocolate Covered Cherry Cupcakes

It's time for Valentine sweets. Now, the name on this one is a little bit deceiving. I went shopping and came upon Pillsbury's Valentine Funfetti cake, and everyone who knows what's what, knows that confetti cake is the best, so the actual cupcakes in this recipe are confetti, but the frosting is all cherry chocolate love!


That is not to say that you couldn't use a different flavor cake mix (though seriously, FUNFETTI!!!) like chocolate or cherry chip, or gluten free anything, if you dig on that. This is all in the name of love, so make what YOU love.

Me? I love funfetti (I think you might have caught onto that by now)!

Sunday, January 26, 2014

Super Bowl XLVIII: Sticky Icky Brie Blunts

So, this year, if you are unaware, the two teams who have made it into the Super Bowl happen to come from the two states that legalized marijuana for recreational use. That has inspired a lot of jokes, and I write humor for a living (when I am not cooking), so of course, I needed to make a delicious but funny recipe that referenced marijuana without actually using marijuana (thanks for THAT suggestion, funny friends).

This recipe was seriously a whole lot of work to make a Super Bowl pot joke. Thankfully, it is REALLY delicious too, so they are worth the effort.


These "sticky icky" brie "blunts" have delicate layers of buttery phyllo filled with creamy brie, and a sweet buttery pecan crumble. Even better, after they have baked crispy, they are soaked in a tangerine cinnamon syrup. Seriously, I considered licking the plate when I sampled them... fine, I actually licked the plate.

Wednesday, January 1, 2014

Ginger Lemon Creme Parfaits

Carr's Ginger Lemon Cremes are one of my most favorite cookies EVER, which of course means that my local stores have stopped selling them. Whenever I declare something my favorite, it stops being made or sold.  It is a curse I must live with.

If you haven't had them, I am sorry. They are the perfect crisp gingersnap, sandwiching a tart tangy lemon creme filling. So very tasty.

This parfait borrows those flavors for a fast, easy dessert.

If, by chance, the idea of using canned products makes you gag, you could easily make all of these components yourself for a super gourmet treat, but I only have so much energy, and no shame whatsoever, so I take shortcuts.


Ingredients:

One 5.25 oz package of Anna's ginger thin (or gingersnaps of your choice), crushed
1/2 stick butter (1/4 cup), melted  
4 oz cream cheese, softened 
1/2 cup granulated sugar (I use extra fine sugar because it dissolves better)
8 oz of whipped topping (like Cool Whip, but you could easily use real whipped cream)
21 oz can of Lemon Creme pie filling (lemon curd would work too) 

You'll also need:
Six 9 oz plastic cups (or another parfait container that lets you see the pretty stripes)
2 quart sized zipper storage bags (or piping bags if you're fancy)
An extra one of those cups to tamp down the crust


This really is as simple as mixing a few things and making pretty layers. And by pretty layers, I mean, as pretty as you can make them without hating life.

Directions:
Start with the crust. I crushed my gingersnaps to a fine crumb in the food processor, and then drizzled in the melted butter, pulsing to mix it. You could do that, or do it by hand if that strikes your fancy.
Use a spoon to add about 5 scoops of the crust mixture into the parfait cups. You'll want to reserve some of the crust mixture for garnishing the top, so adjust your crust size accordingly.
Use the extra cup to push the crust mixture down and even it off.

With a mixer, combine the softened cream cheese and the sugar until well combined and smooth.
Add in half of the container of whipped topping, and mix to combine.
Put the mixture in a quart sized storage bag. I fold over the top of my bags to create a cuff and put it in a tall cup to make loading the bag easier. Zip the top of the bag, squeezing out extra air, and cut off one corner to make a piping bag. Pipe the cream cheese layer on top of the crust.

If you don't feel like dealing with the piping bag, you COULD just spoon the mixture in, but I found out that it got everywhere and made the layers not so pretty.

Next, open that can of Lemon Creme and cram it in another "piping bag" like you did with the cream cheese mixture. Pipe a good sized layer of it on top of the cream cheese layer in the cup. You may have some extra, so don't panic.

Next, divide the rest of the whipped topping evenly between the 6 cups, and smooth the top with the spoon.

Sprinkle those cups as liberally as you'd like with the remaining crust mixture, and then eat the heck out of these things. Whatever you don't finish should be stored, covered with cling wrap, in the fridge.